The Muse Scarlett Yvette Royal

The Muse Scarlett Yvette Royal

Friday, March 24, 2017

March Yarn and Product Reviews

Patons Metallic Yarn

Cost: $6
Composition: 63% nylon, 28% acrylic and 9% wool
Weight Category: 4
Weight and Yardage: 3 oz/85 g; 252 yds/230 m

This yarn was great to work with on the loom, it doesn't have spring but has great drape. Feels like satin to work with. Loops like satin with the sheen it puts off. I would suggest using with a 3/8" gauge loom for projects. Not a bad price for the yardage you get. Divine stuff to knit with on texture alone, gently slips through the fingers and slides through the stitches beautifully, and well woven so it doesn't break apart when knitting with the hook. 

Red Heart Heads Up Yarn
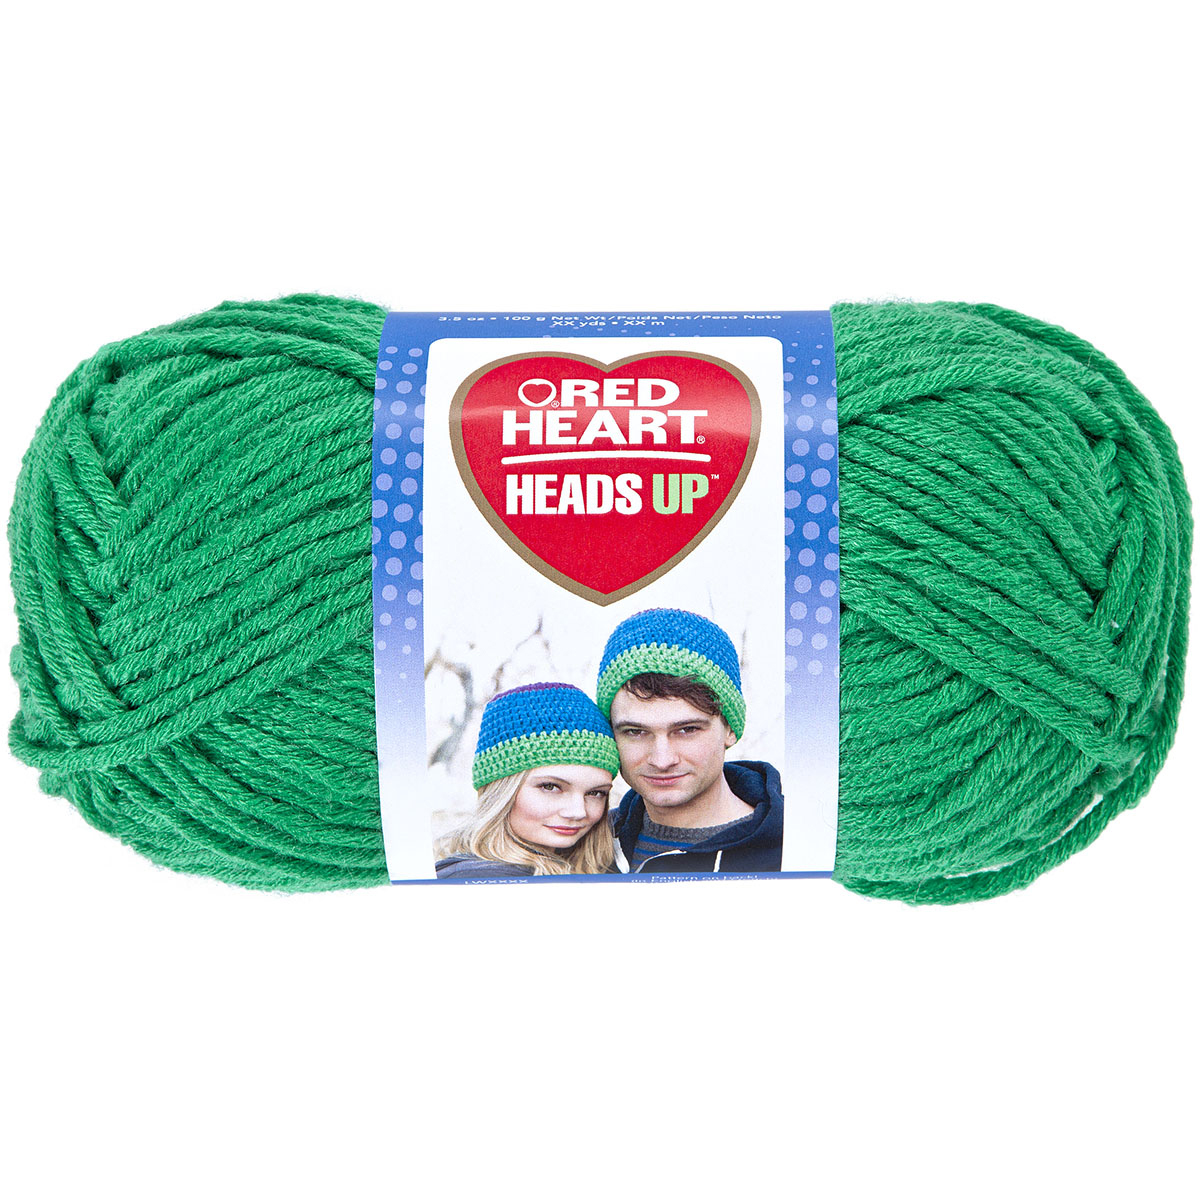

Cost: $5
Weight category: 5
Composition: 80% acrylic/20% wool.
Weight and Yardage: 3.5oz/100g, 106yd/97m

While this yarn was soft, it drove me nuts. It is not tightly woven and likes to split apart a lot when tossing stitches over with the hook. They have vivid colors which is great. Works best with 1/2" to 5/8" gauge looms. It has spring to it, would look good with cabling. Just splits apart entirely too much for my taste. The price is okay, could be better for what you get. Wouldn't really suggest this yarn for anyone.

St Patty's Day Hat

Lions Brand Amazing Yarn


Cost: $5
Weight Catagory: 4 
Composition: 53% Wool/47% Acrylic
Weight and Yardage: 135 m/ 147 yds

This yarn they swear is soft, but I found if rough and feels typical of wool. It is very fuzzy in and while it may be a 4 weight if feels like a 3, probably some where in between. Works with 3/8" gauge best. The color gradience in beautiful but I wouldn't suggest it for small projects, it is going to be best for larger projects as it has a very slow gradience in color. The color I got has a heavy lavender base to it. Not bad to work with but wouldn't be easy to make something for my family as they want soft yarn only. The cost isn't bad for the natural fiber % just keep in mind this isn't the soft wool it is rougher.

 Checkard Heart Socks

Wednesday, March 1, 2017

March Stitch Pattern of the Month Clover Stitch

Clover Stitch


 Terms

CO: Cast On

K: Knit

P: Purl

D: Decrease

YO: Yarn Over

K2tog: Knit 2 Stitches Together

P2tog: Purl 2 Stitches Together

SL/YO: Slip Yarn Over 

K/SL: Knit the Slip

LSBP: Lift Stitch, and Skip Behind Peg Place Stitch Back on Peg.

Flat: 
EWCO 13 (Flat, requires a knit 2 on both sides of the design. You will need to add 2 to the 11 stitch pattern for working flat.)
Knit the first row after cast on.
Row 1: K2, P1, LSBP, SL/YO, LSBP, P1, K2
Row 2: K
Row 3: K2, P2, K1, K/SL, K1, P2, K2
Row 4: K2, P3, P2tog, P3, K2
Row 5: K2, P2, K1, P1, K1, P1, K2
Row 6: K4, P3, K4
Row 7: K2, D-> YO K2tog, K1, P3, K1, D<-K2tog YO, K2
Repeat rows 1-7 over and over
If you would like a separation of the clovers more do a row 8 and Knit straight across.

Circular:
EWCO 11 (Ciruclar you don't need the extra 2 on the end like flat, you are calculating for the 11 stitches.)
Row 1: K2, P1, LSBP, SL/YO, LSBP, P1
Row 2: K
Row 3: K2, P2, K1, K/SL, K1, P2
Row 4: K2, P3, P2tog, P3
Row 5: K2, P2, K1, P1, K1, P1
Row 6: K4, P3, K2
Row 7: K2, D-> YO K2tog, K1, P3, K1, D<-K2tog YO

If you like the stitch pattern please check out this bonnet pattern I made using the stitch on Ravelry: 

March Tutorial of the Month St Patty's Day Hat

St Patty's Day Hat

I will give you the formula to allow you to figure out how to make this hat in any size you would like. It is a fun hat to enjoy the St Patrick's Day Fun!!!!

Items:
loom to fit your head size
looming hook
yarn to work with the gauge of the loom
black yarn
green yarn

Terms:
EW CO: E-Wrap Cast On
WCO: Weave In Cast On
K: Flat Knit
P: Purl
WT: Wrap and Turn
K2tog: Knit 2 Stitches Together
BO: Bind Off
DSBO: Drawstring Bind Off
FGDSBO: Fine Gauge Drawstring Bind Off

Formula

#pegsX2=#A
#A-8=#B
#B/4=#C
#pegs/5=#D
#pegs/2=#E
#E+#D=#F

A is the number of rows you will need to do total for the brim. 
B is the number of rows you will do that aren't corners. 
C is the number of rows you will do between your corners
D is the number of rows you will do in black for your band at the base.  Also the number of pegs you will use for the brim.
E is the number of rows you will do after the band area at the base.
F is the number of rows you will do total for the top of the hat. 

Ex: for 36 peg loom
36 x 2= 72
72-8=64
64/4=16
36/6=6
36/2=18
18+6=24

Lets write up our pattern. 
Note: Always skip the first peg when coming back from the even number rows. Unless you are wrapping and turning then you will need to work the peg. So it will be skip1 purl5. 
Brim First: Flat: 6 pegs: 
EWCO 6
Row 1: K
Row 2: P
Row 3-16: Repeat rows 1 and 2
Row 17: K5, WT
Row 18: P5
Row 19: K4, WT
Row 20: P4
Row 21: K3, WT
Row 22: P3
Row 23: K2, WT
Row 24: P2
Row 25: K1, WT
Row 26: P1
Row 27: K1, K2tog
Row 28: P2
Row 29: K2, K2tog
Row 30: P3
Row 31: K3, K2tog
Row 32: P4
Row 33: K4, K2tog
Row 34: P5
Row 35: K5, K2tog
Row 36: P6
Row 37-52: repeat rows 1-16
Row 53-72: repeat rows 17-36
Row 73-88: repeat rows 1-16
Row 89-108: repeat rows 17-36
Row 109-124: repeat rows 1-16
Row 125-144: repeat rows 17-36
BO 
sew ends together

Weave In Cast On the 36 pegs from the brim
Row 1-6: Black K
Row 7-24:  Greeen K
DSBO or FGDSBO

weave in the tails and you're done!!!

See video for help understanding all this.


March Tip and Tricks Figuring Peg Count for Stitch Patterns Easy

 Figuring Peg Count for Stitch Patterns Easy

Every wonder how to make it easier to figure out if you can work a stitch pattern into a loom you want to use or not. Well there are some quick math tricks, and ways of looking at a stitch pattern and seeing if you can adjust it while still keeping the look to maybe work for a loom you want. Here is what you do.

For quick figure with no adjustment to the stitch pattern. 
#pegs/#stitches=#of times you can do the pattern.  
Okay what this means is you will take the loom peg count you want, and divide it by the number of stitches it takes to complete 1 set of the pattern. This will give you how many times the pattern can be done on the loom.

What are you after with this equation? 

An even number with no decimal. This tells you it works perfect. 

But what if it doesn't work perfect? 

If the number after the decimal is .1 or .2 you can fudge it, if it is .8 or .9 you can fudge it. This usually means you could add an extra purl or knit to make it work. But sometimes the pattern doesn't allow for that. The clover stitch below allows for an extra knit between each set, as an example for if you wanted to use it with a 36 peg loom circular.
Sometimes removing an extra purl or knit can make it work as well for more options. 


For instance I was presented with a stitch pattern by someone who wanted to use a particular loom and couldn't get how to adjust it to make it work. So let me tell you how I did it. Below is the original stitch pattern, ask yourself where can you remove a stitch or 2 to change up the pattern to make is work for other peg variations. Hint: Look at the 2 knit columns with no purls.


Well look at the chart below to see that I removed a single column of knits. This changed up the pattern instead of being a 16 stitch pattern it turns into a 14 stitch pattern.
You can do this in a number of ways. You can remove a decrease section if it is a diamond and you want a smaller diamond, or a smaller heart. It could be as simple as removing a decrease or a column to make the pattern work. Always look at your stitch pattern and see.

Keep this in mind when working up rib stitches. If you want a K2 P2 that is a 4 peg pattern #pegs/#stitches= #times the pattern works on the loom. You want an even number.


What if you don't have a graph to look at? 

Ah that can be a trick, make a graph or use mental imaging or look at the picture of the stitch to get the idea of if you can alter it or not. Let me get you an example. (note: reading a photo will be a tips and tricks very soon, how to read a photo to be able to make what you see.)

I did a lace diamond stitch once from Renee's stitch dictionary book ( I recommend both stitch dictionaries as inspiration go to spots. Get them, well worth the money) If you have it look the image up. The diamond pattern uses 11 pegs, I wanted less, well it had 2 decreases and a top point. My thought was you could remove the decrease on the side and make it only 1 decrease and the top and bottom points. You then can change the peg count to 7, granted this was one of the more challenging adjustment stitch patterns, but that makes a difference on what you can work with. Plus I decided to give a lot more space between the laced diamond. Knowing how to adjust stitch patterns for what you want gives you designer freedom. Simple math equations and understanding what you are looking at helps a ton.


March Sale of the Month Baby Outfits and Bundles 60% off

Baby Outfits and Baby Bundles on Ravelry 60% Off Bundle or Pattern

Snow Princess

 Mermaid Cocoon

 Fall Bundle In My Heart

 Cabled Baby Bundle

 Beginner Baby Bundle

 Cutie Pie Onesie

Braided Baby Cocoon